Getting started
Build your first chatbot
Point Axvelo at your site, shape the voice, and paste one script tag — live in a few minutes.
- 01
Create & train
Sign up and give Axvelo your URL. We crawl your pages and index them as the bot's knowledge. - 02
Test & personalize
Set the name, tone, and boundaries. Chat with it in the wizard before shipping. - 03
Deploy
Paste one script tag on your site. You're answering.
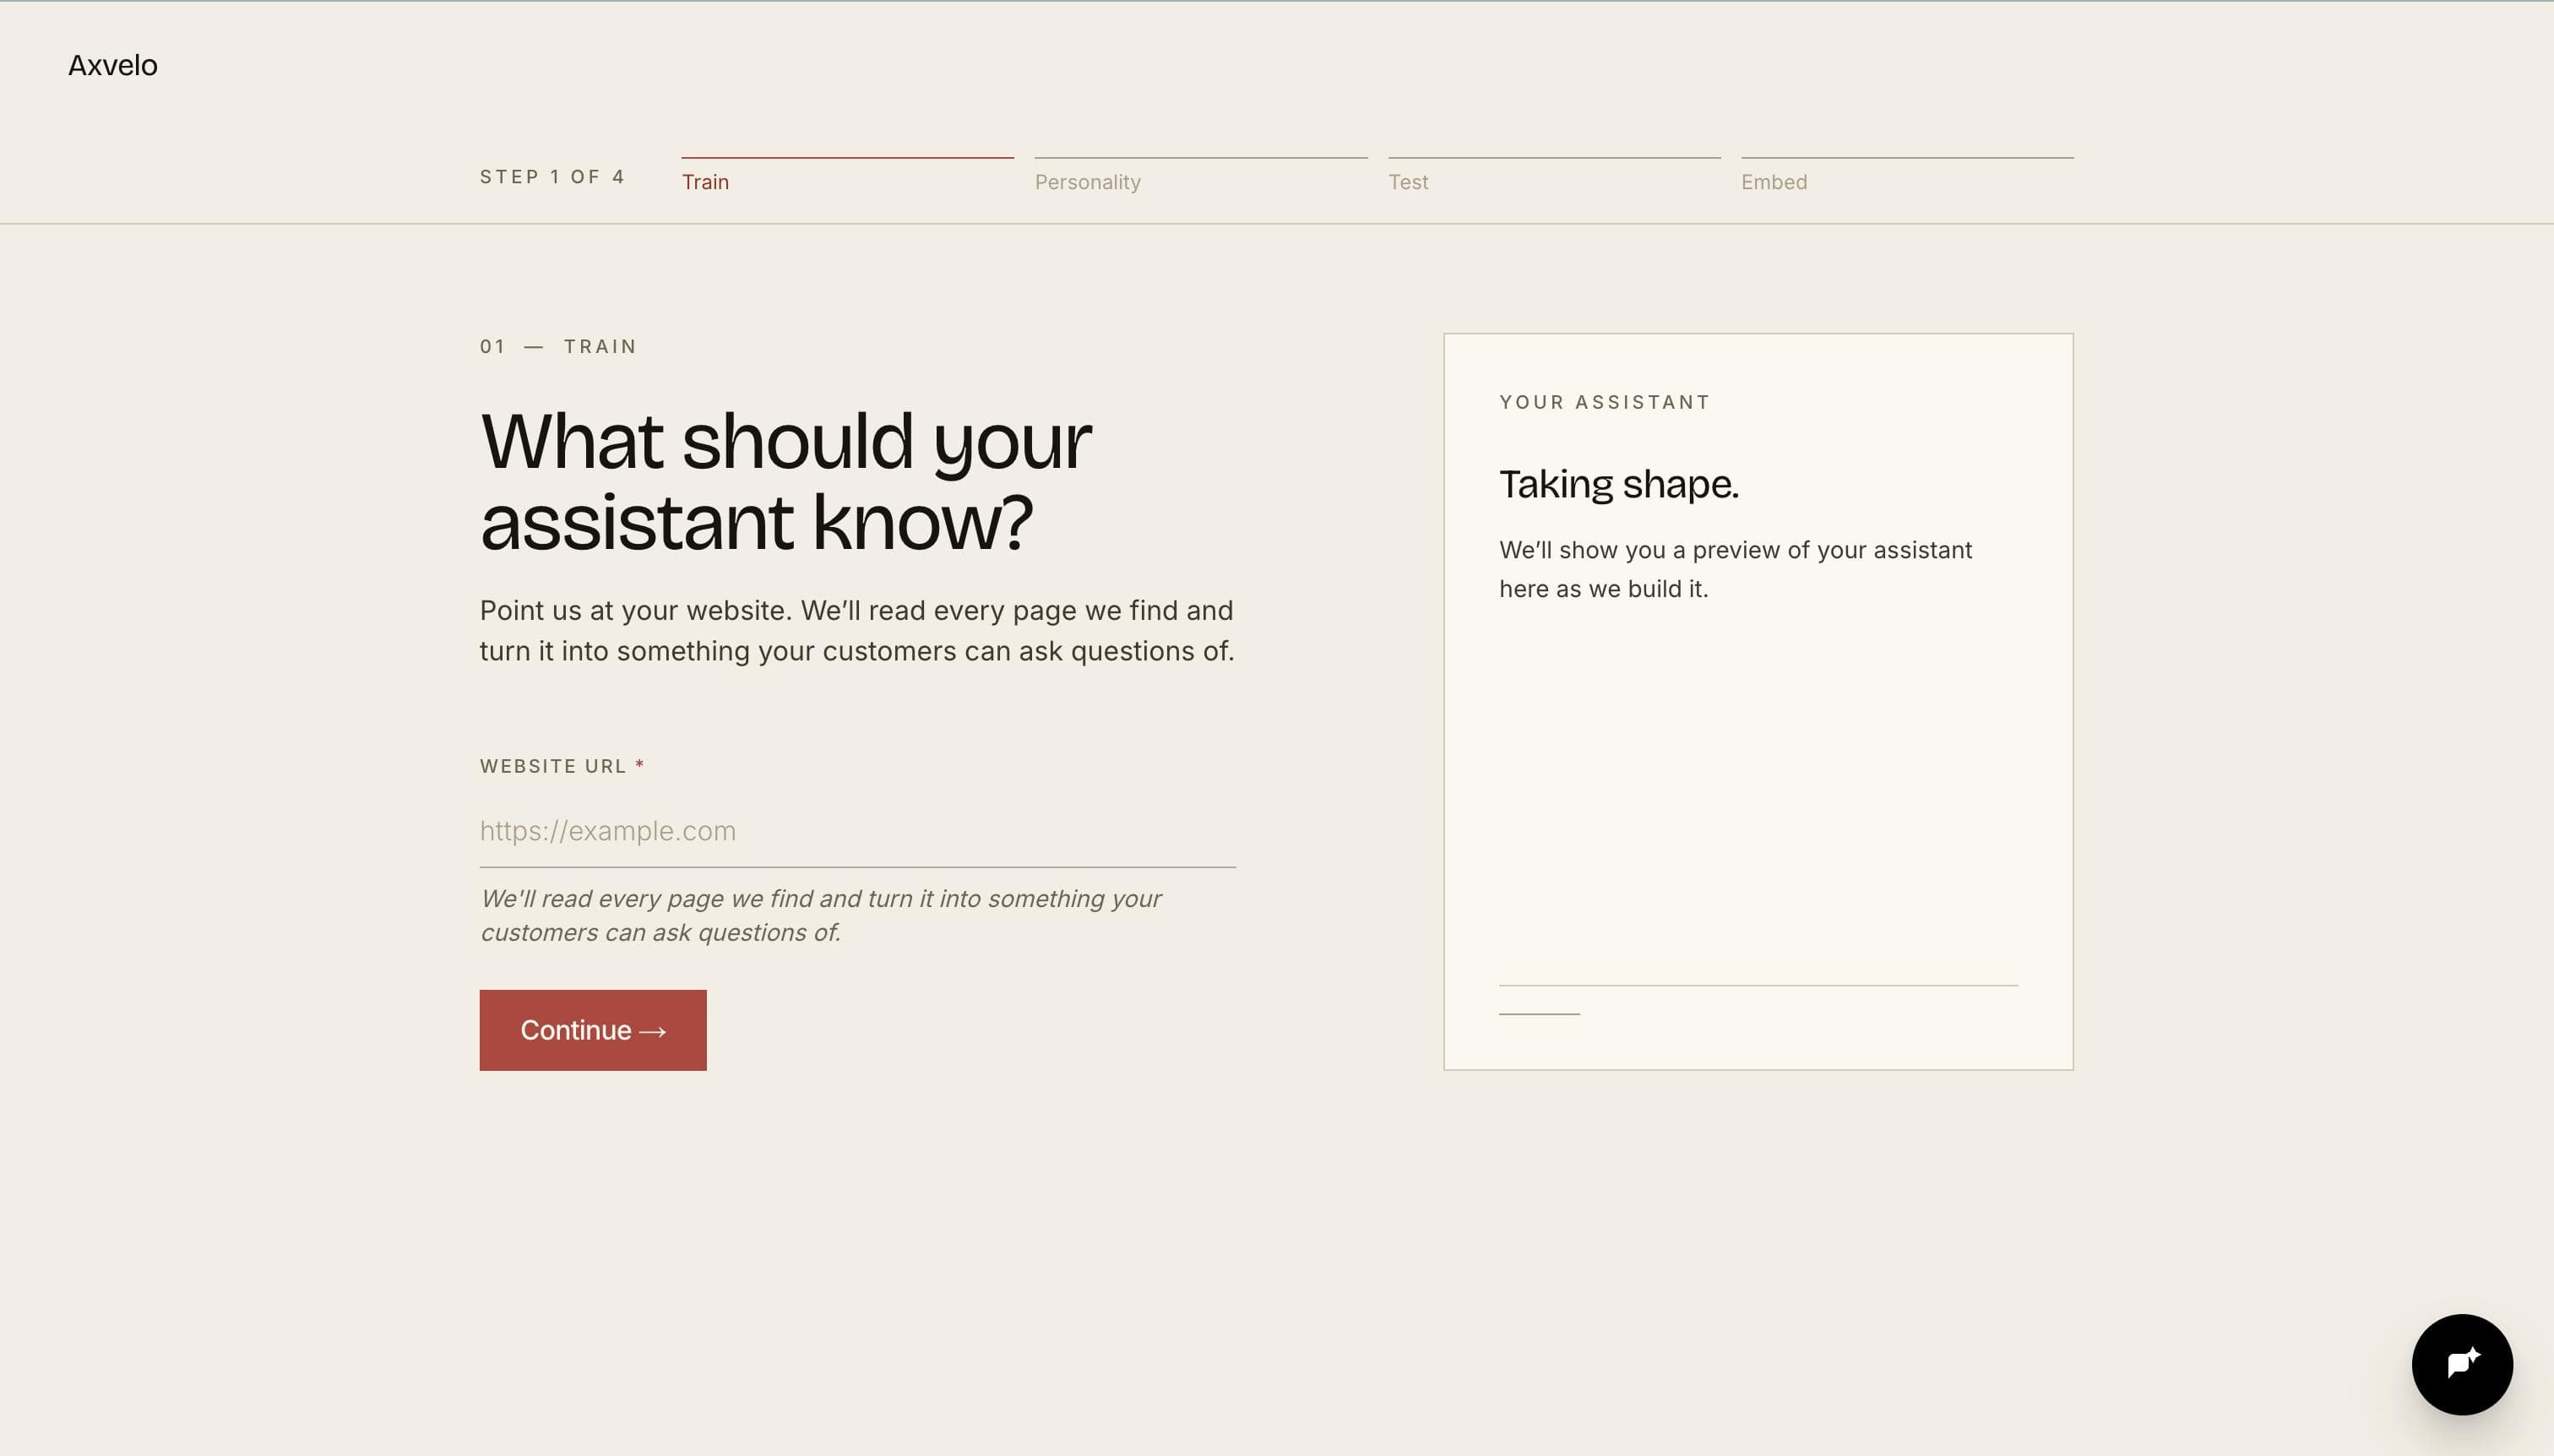
Step 1 — Create & train
Create your account. On the first wizard step, paste the URL of the site you want the bot to answer for. Axvelo crawls your marketing pages, docs, FAQs, and help center — anything a customer might read — and indexes it as the source of truth for every answer.
Larger sites take longer. You'll see live progress in the wizard, and you can move on once the first batch of pages has been indexed — Axvelo keeps crawling in the background.
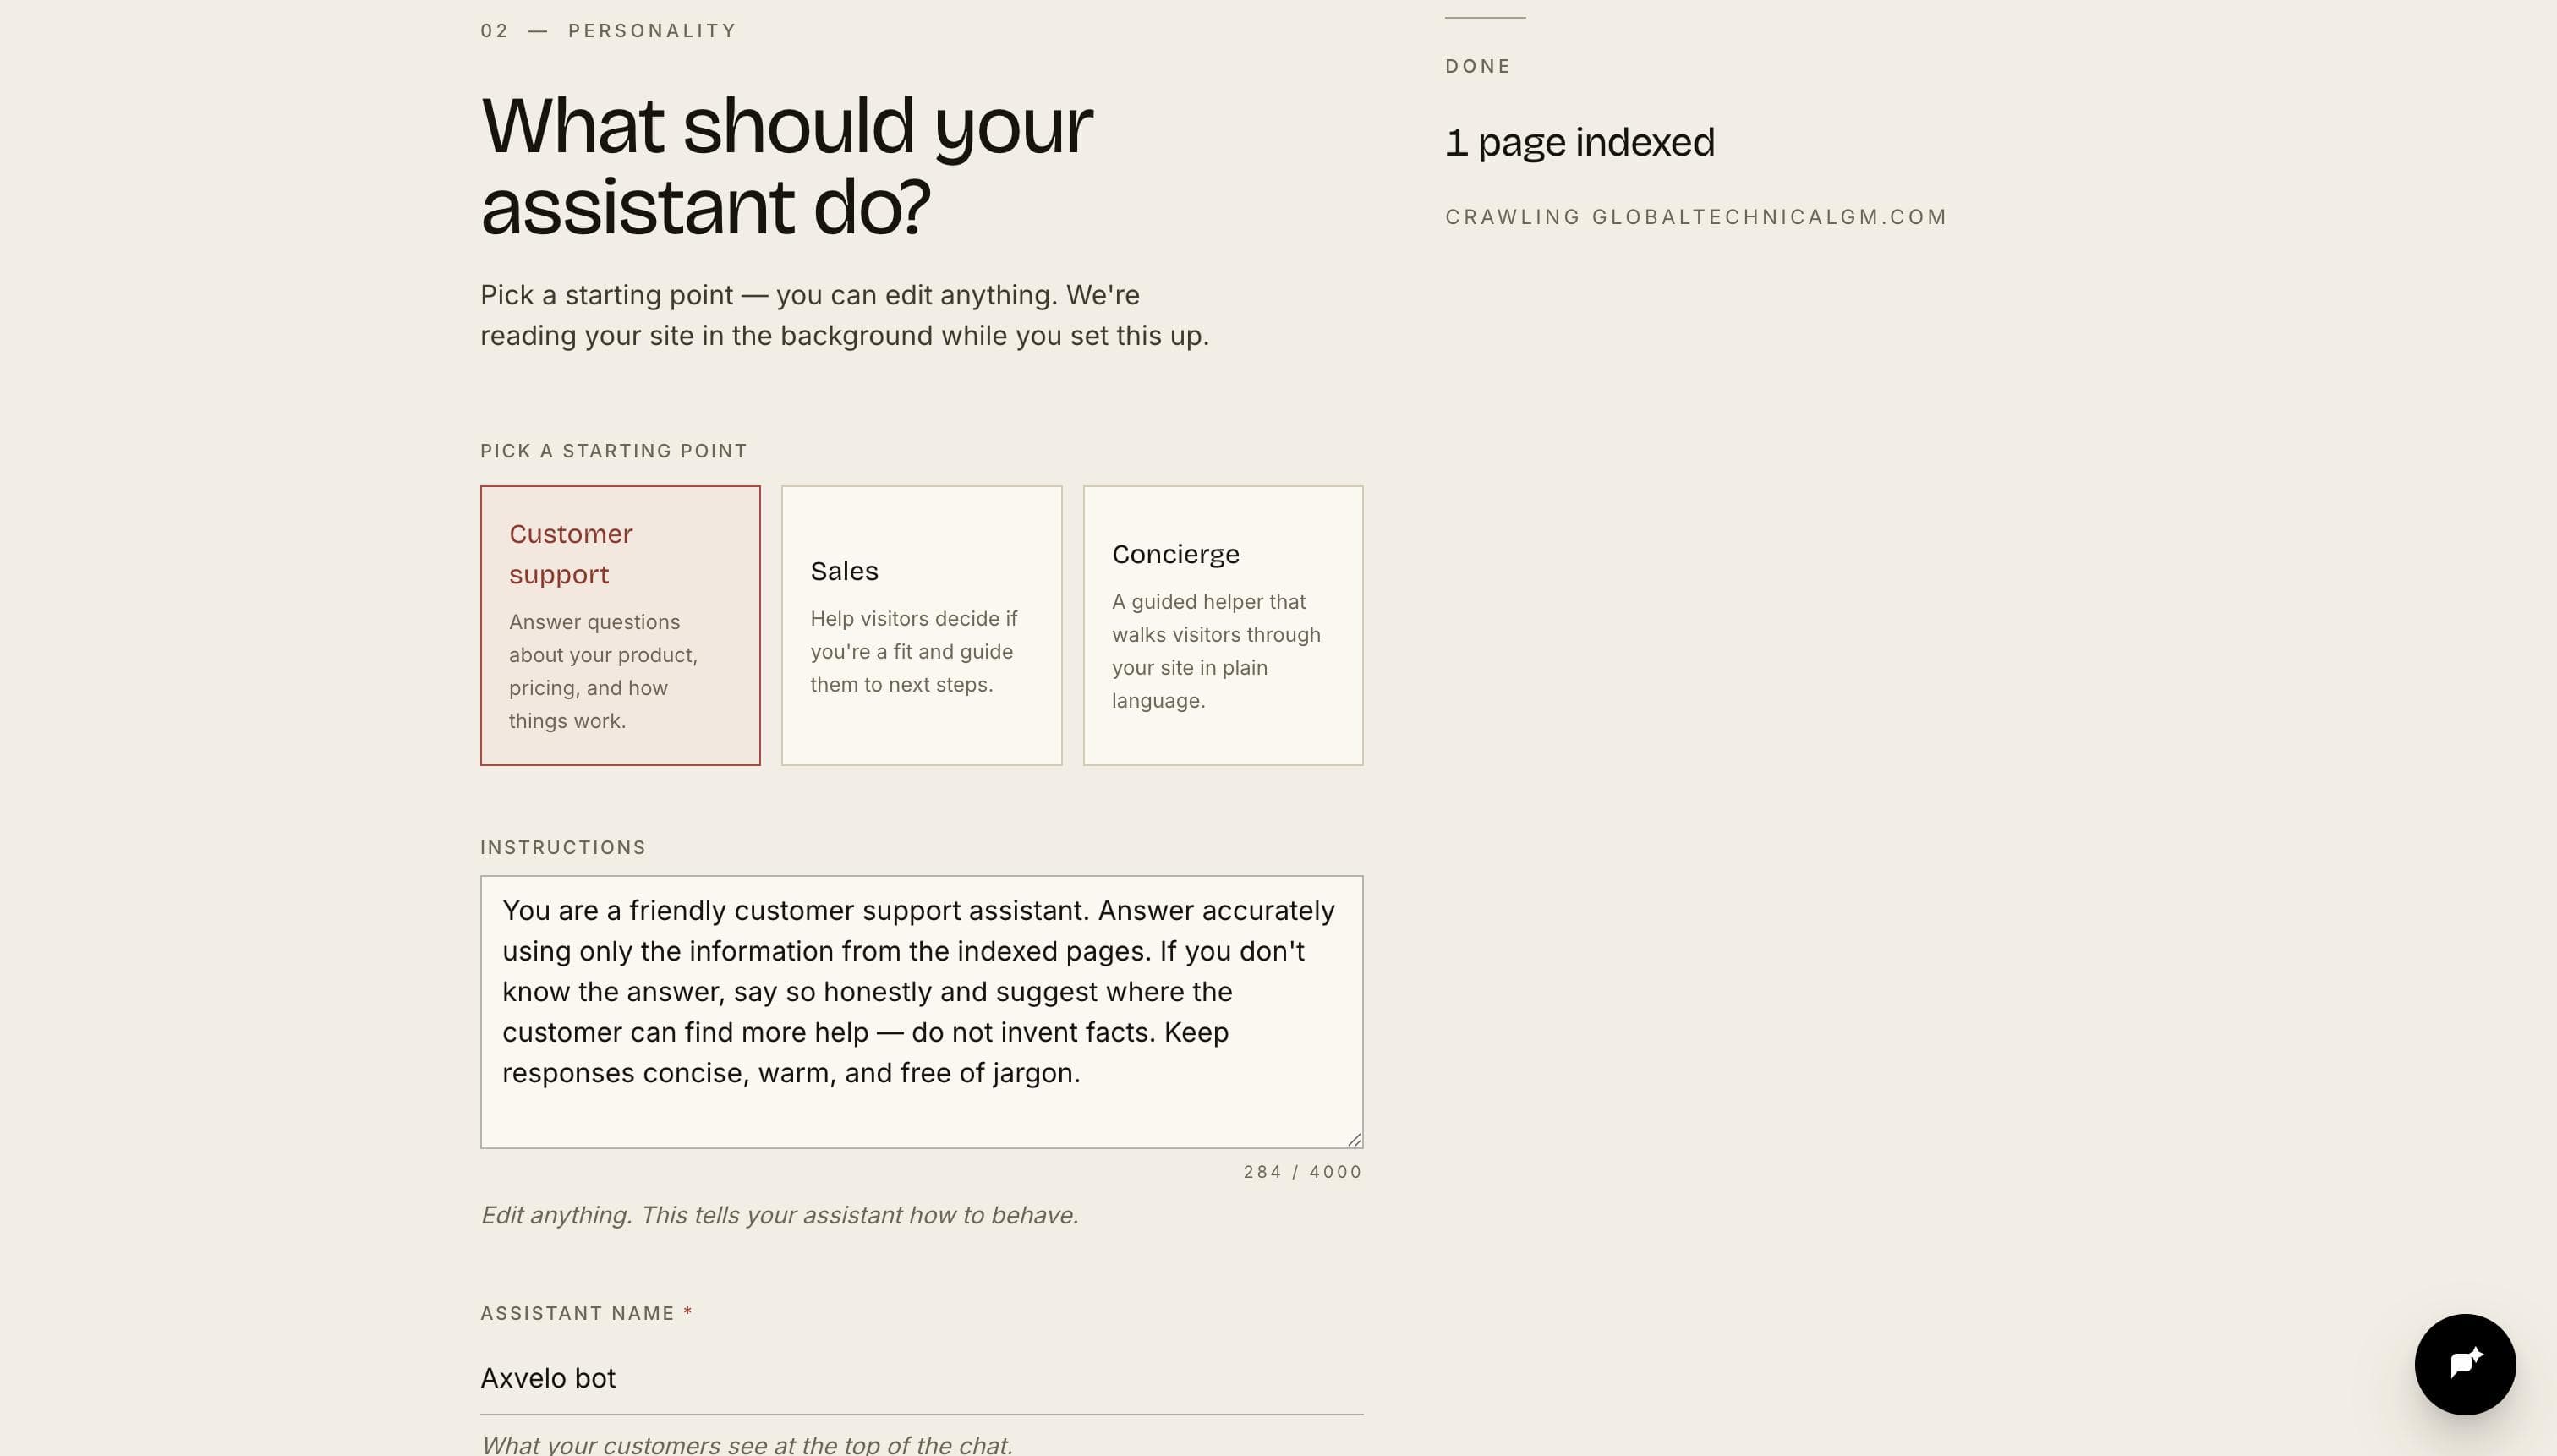
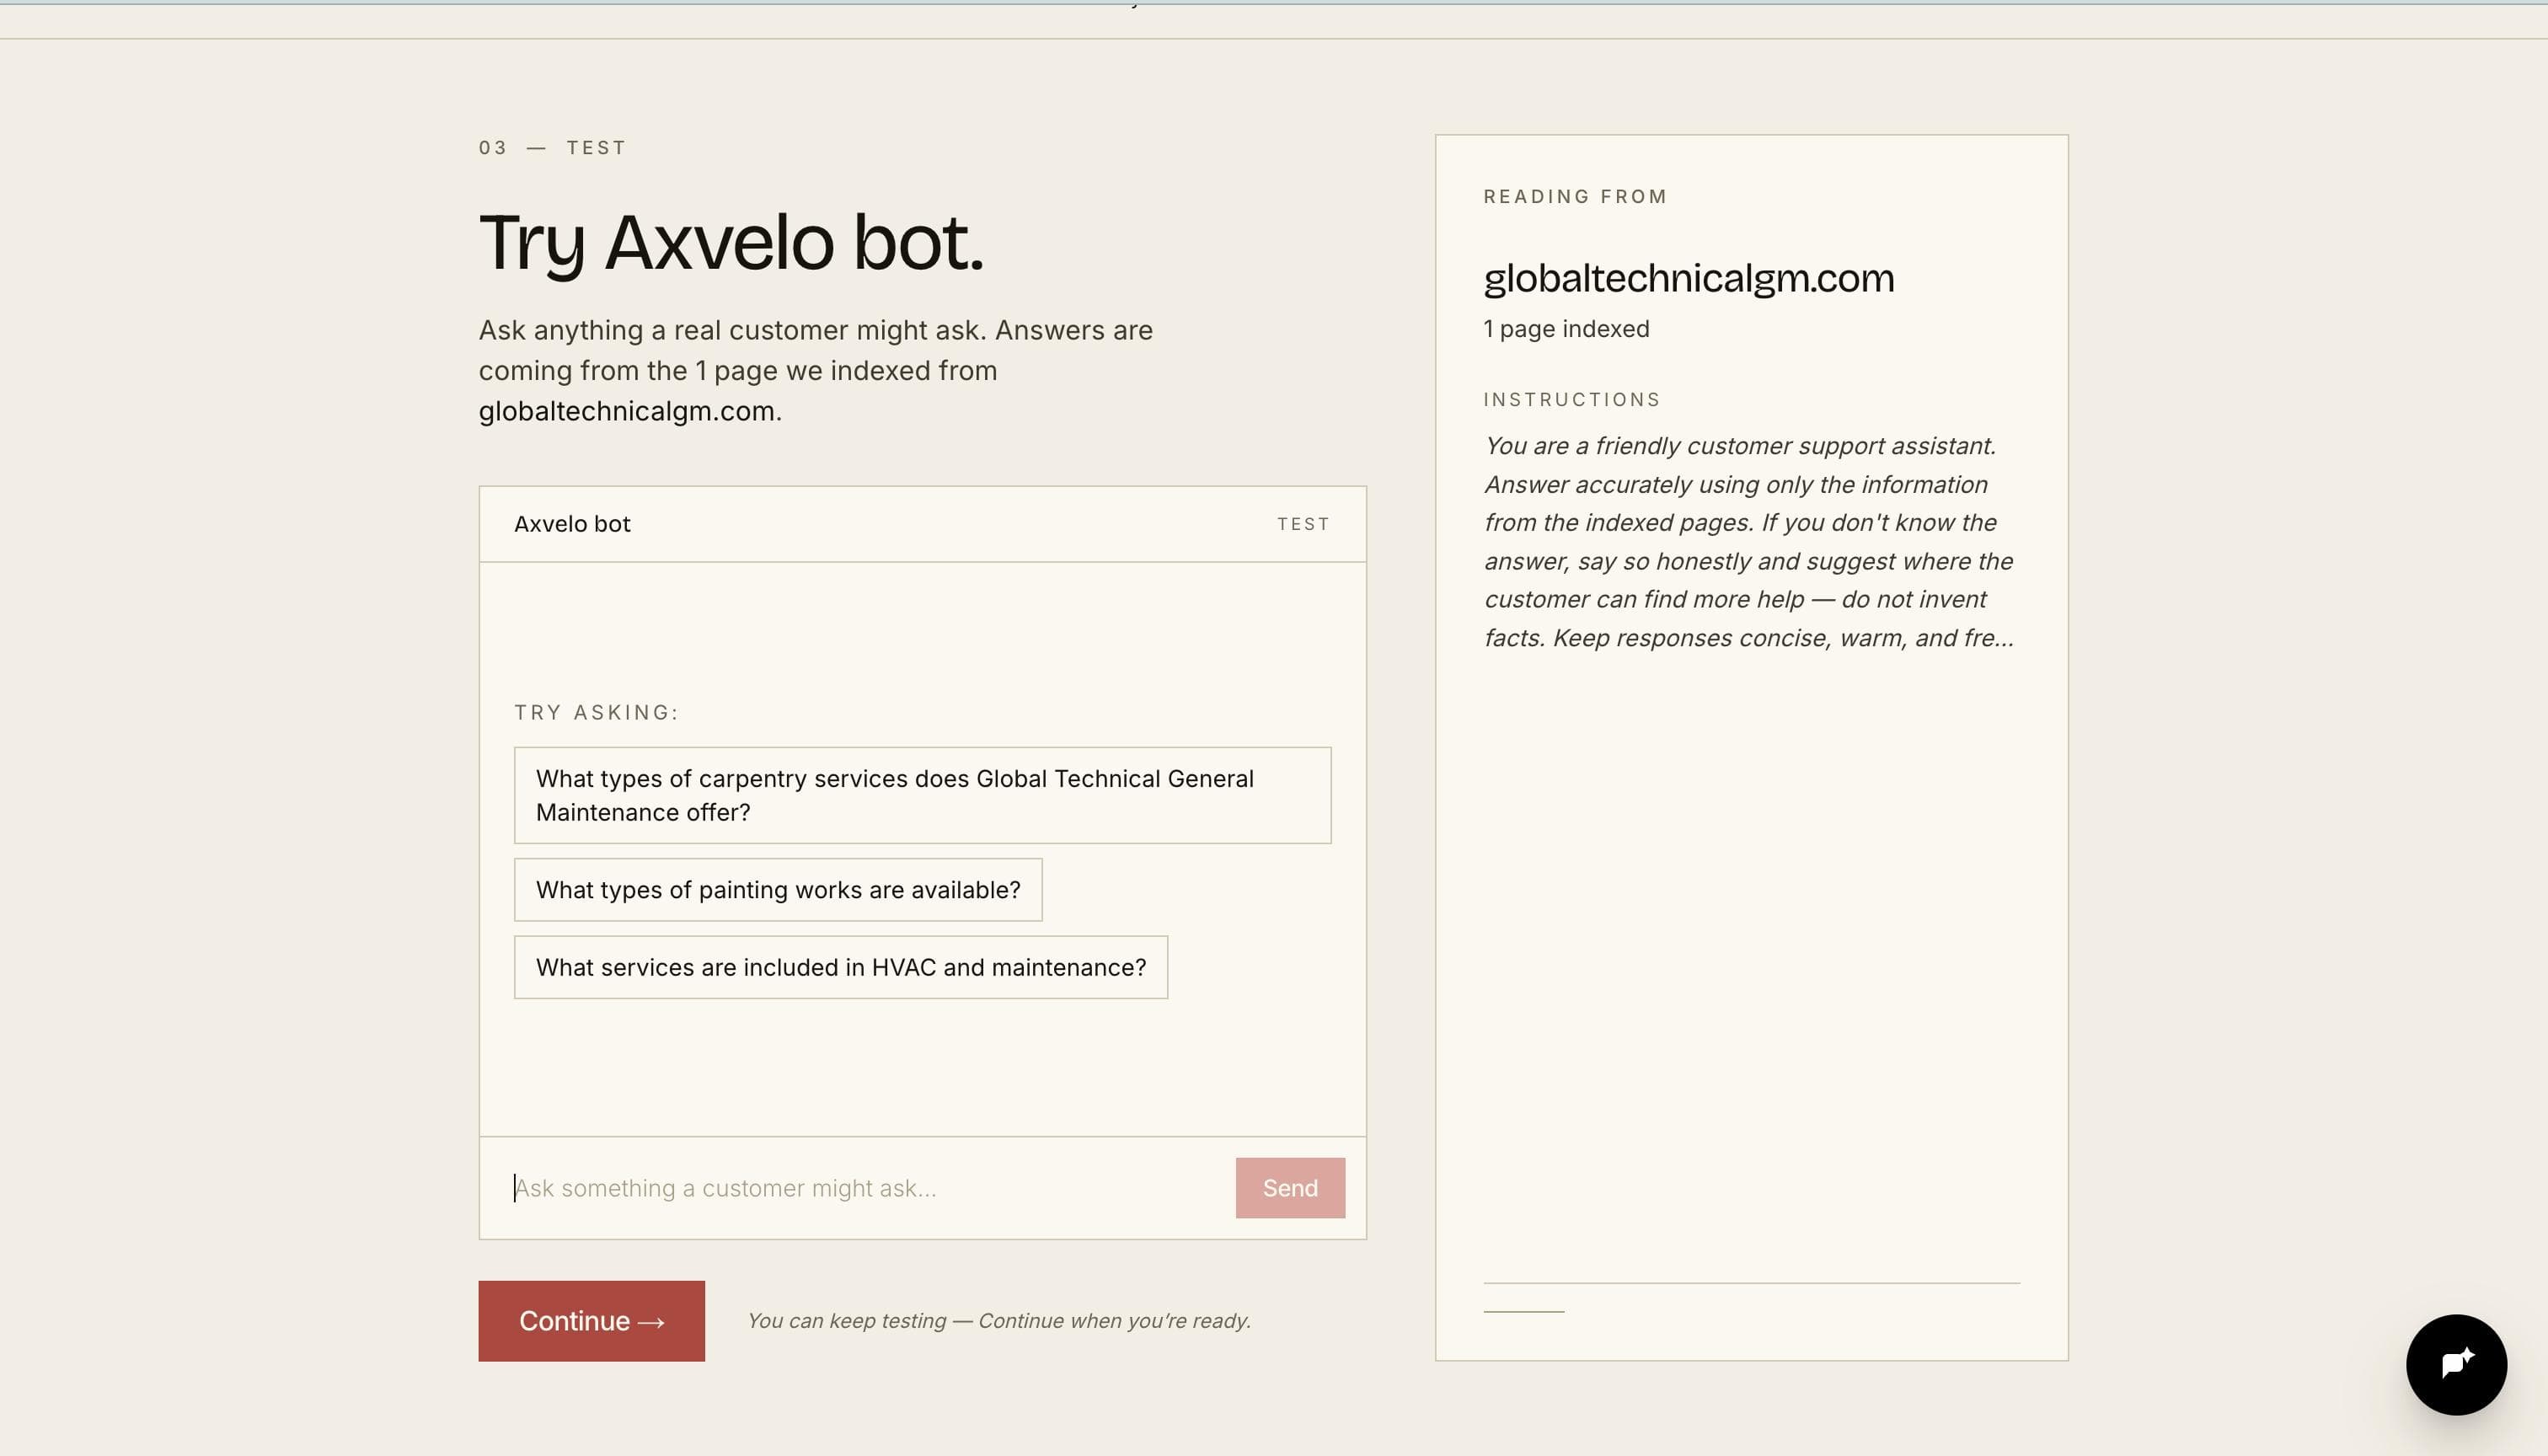
Step 2 — Test & personalize
Give the bot a name and a tone. Set boundaries — topics it shouldn't engage with (competitor pricing, medical advice, legal specifics). Then open the Test step and chat with it live. Every answer cites the page it came from, so you can trace anything that reads off.
Step 3 — Deploy
Once you're happy, grab your embed snippet from the last wizard step. Paste it just before </body>in your site's template — that's all.
Embed snippet
<script
  src="https://widget.axvelo.ai/widget.js"
  data-api-key="pub_YOUR_KEY"
  data-api-base="https://api.axvelo.ai"
  data-title="Support"
  data-accent="#000000"
  defer
></script>
- Replace
pub_YOUR_KEYwith the real key you get after signup. - Paste at the end of
<body>on every page where the widget should appear.
AI install prompt
I want to add the Axvelo chat widget to my website. Add this snippet so the widget loads on every page:

<script
  src="https://widget.axvelo.ai/widget.js"
  data-api-key="pub_YOUR_KEY"
  data-api-base="https://api.axvelo.ai"
  data-title="Support"
  data-accent="#000000"
  defer
></script>

Integrate it the idiomatic way for whatever framework this project uses:
- Plain HTML: just before </body> in the shared layout/footer.
- Next.js App Router: next/script in app/layout.tsx, strategy="afterInteractive" (Pages Router: pages/_document.tsx).
- React (Vite/CRA): index.html before </body>, or append once in a top-level useEffect.
- Vue/Nuxt: root layout / app entry / nuxt.config.
- WordPress/CMS: before </body> via theme footer or a header/footer plugin.

Load it once globally (no duplicates), keep it non-blocking, don't alter the data-api-key, and tell me which file you changed.
Paste this into your AI assistant to install on any stack.
Where to paste
- Plain HTML — just before
</body>in your shared layout or footer template. - WordPress— paste in your theme footer, or use a header/footer plugin.
- Anything else— copy the AI install prompt above into your AI assistant and let it pick the right spot for your stack.